HDR Photography Inspiration
HDR Stands For High Dynamic Range. If You Don’t Know Much About High-tech Shutterbug Language, Dynamic Range Is Mainly Just The Divergence Between The Lightest Light And Darkest Dark You Can Capture In A Photo.
When Your Subject Exceeds The Camera’s Dynamic Range, The Highlights Tend To Wash Out To White, Or The Darks Become Big Black Blobs. It’s Impatiently Tricky To Snap A Photo That Captures Both Ends Of This Spectrum, But With Modern Shooting Techniques And Advanced Post-processing Software, Photographers Have Devised Ways To Make It Happen. This Is Basically What HDR Is: A Specific Style Of Photo With An Extraordinarily High Dynamic Range That Couldn’t Otherwise Be Achieved In A Single Photograph.
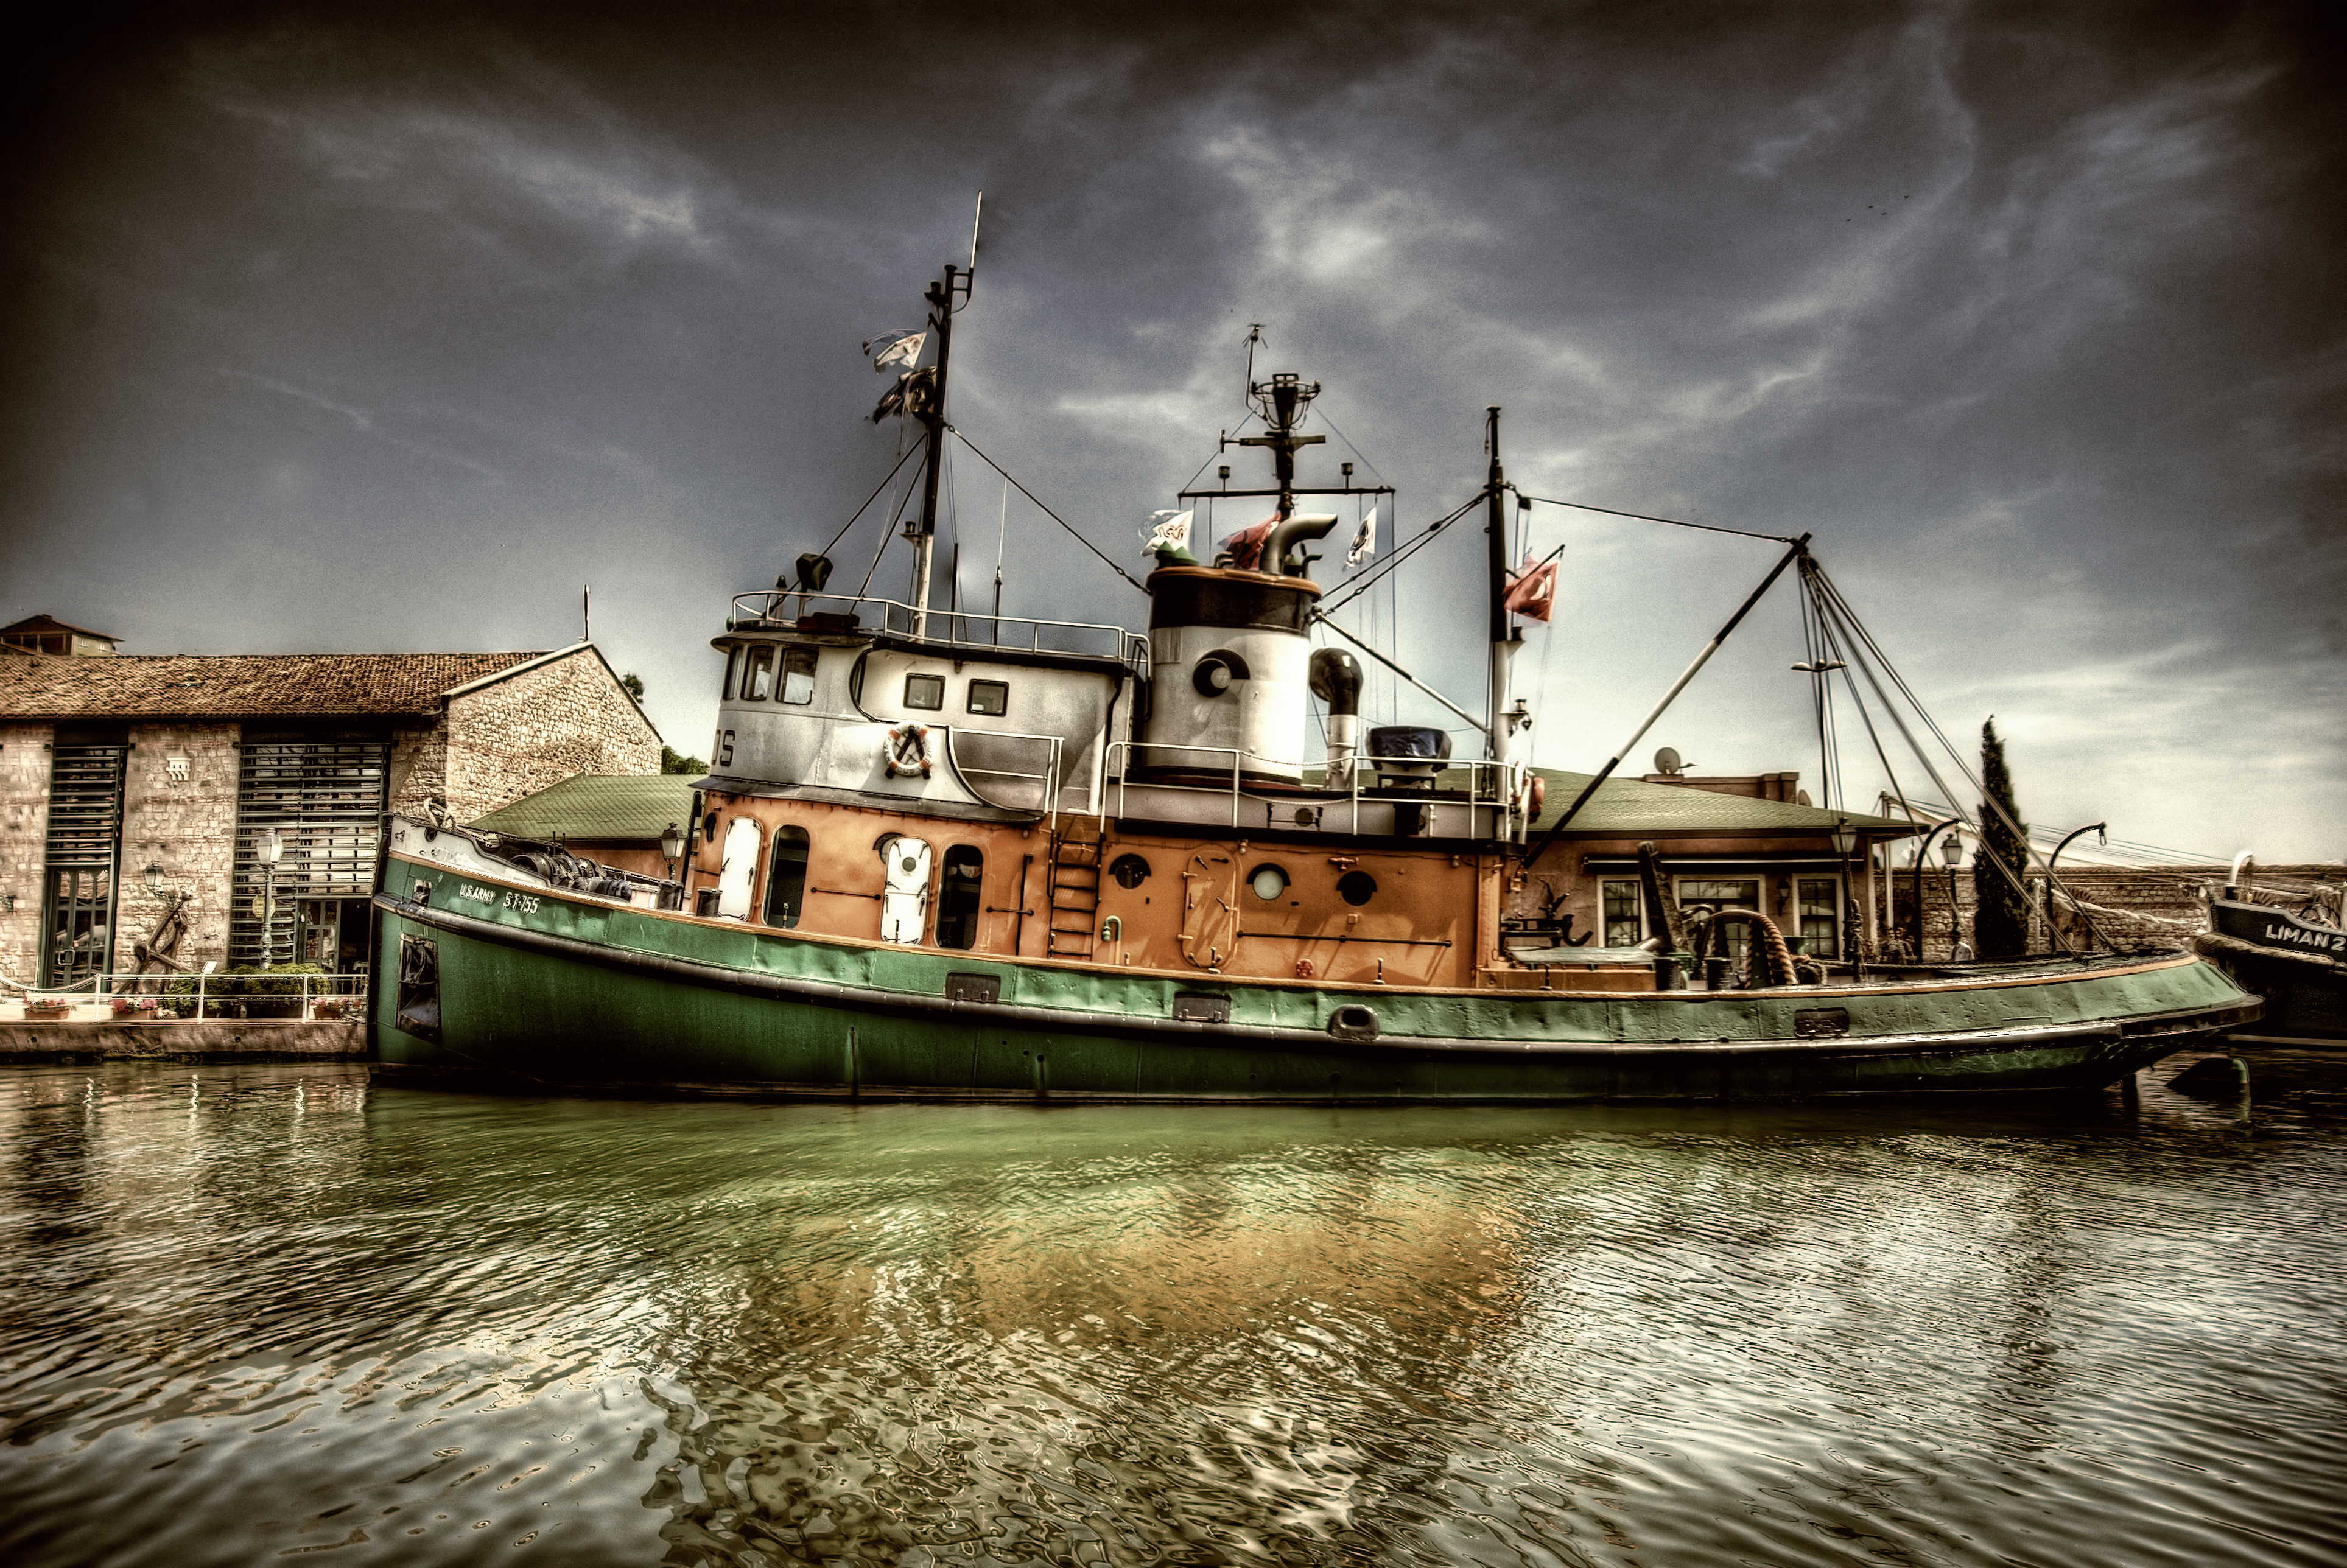
You’ve Almost Certainly Seen These Types Of Images Spread Across The Web. Depending On How They’re Processed, HDR Photos Can Be Anything From Strikingly Accurate Reproductions Of What You See To Miraculous Dreamlike Works Of Art That Convert Reality Into A High-def Dreamscape.
How It Works:
Simply Speaking An HDR Photo Is Really Just Two (or Three, Or Nine) Photos Taken At Different Exposure Levels And Then Merged Together With Software To Create A Better Picture. It’s A Bit More Complex Than That, But Not Much More – That’s Mainly The General Idea Of It. Mostly The Photographer Takes A Range Of Bracketed Photos – That Is, Photos Of The Same Subject Taken With Varying Shutter Speed/aperture Combinations In Order To Generate A Set Of Images With Varying Brilliance And Depth Of Field. Then, With The Help Of Advanced Post-processing Software, The Photographer Is Able To Merge The Photos Together And Create A Single Image Comprised Of The Most Focused, Well-lit, And Multihued Parts Of The Scene.
Equipments You Will Need For HDR Photography
1. A Camera, Preferably With An Auto Exposure Bracketing (AEB) Function.
2. A Tripod Or Other Type Of Stabilizer.
3. HDR Photo-blending Software.
Tips For Fine HDR Photography
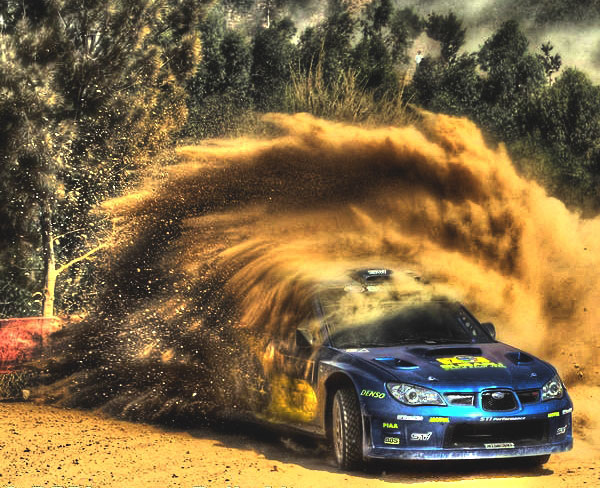
• Owing To The Nature Of HDR And Exposure Bracketing, You Possibly Won’t Be Able To Capture A Moving Subject Very Easily. HDR Just Isn’t Meant For Things That Move. Stillness Is The Name Of The Game Here, So Do Your Best To Shoot A Scene That Isn’t Going To Change Very Significantly In A 5-10 Second Period.
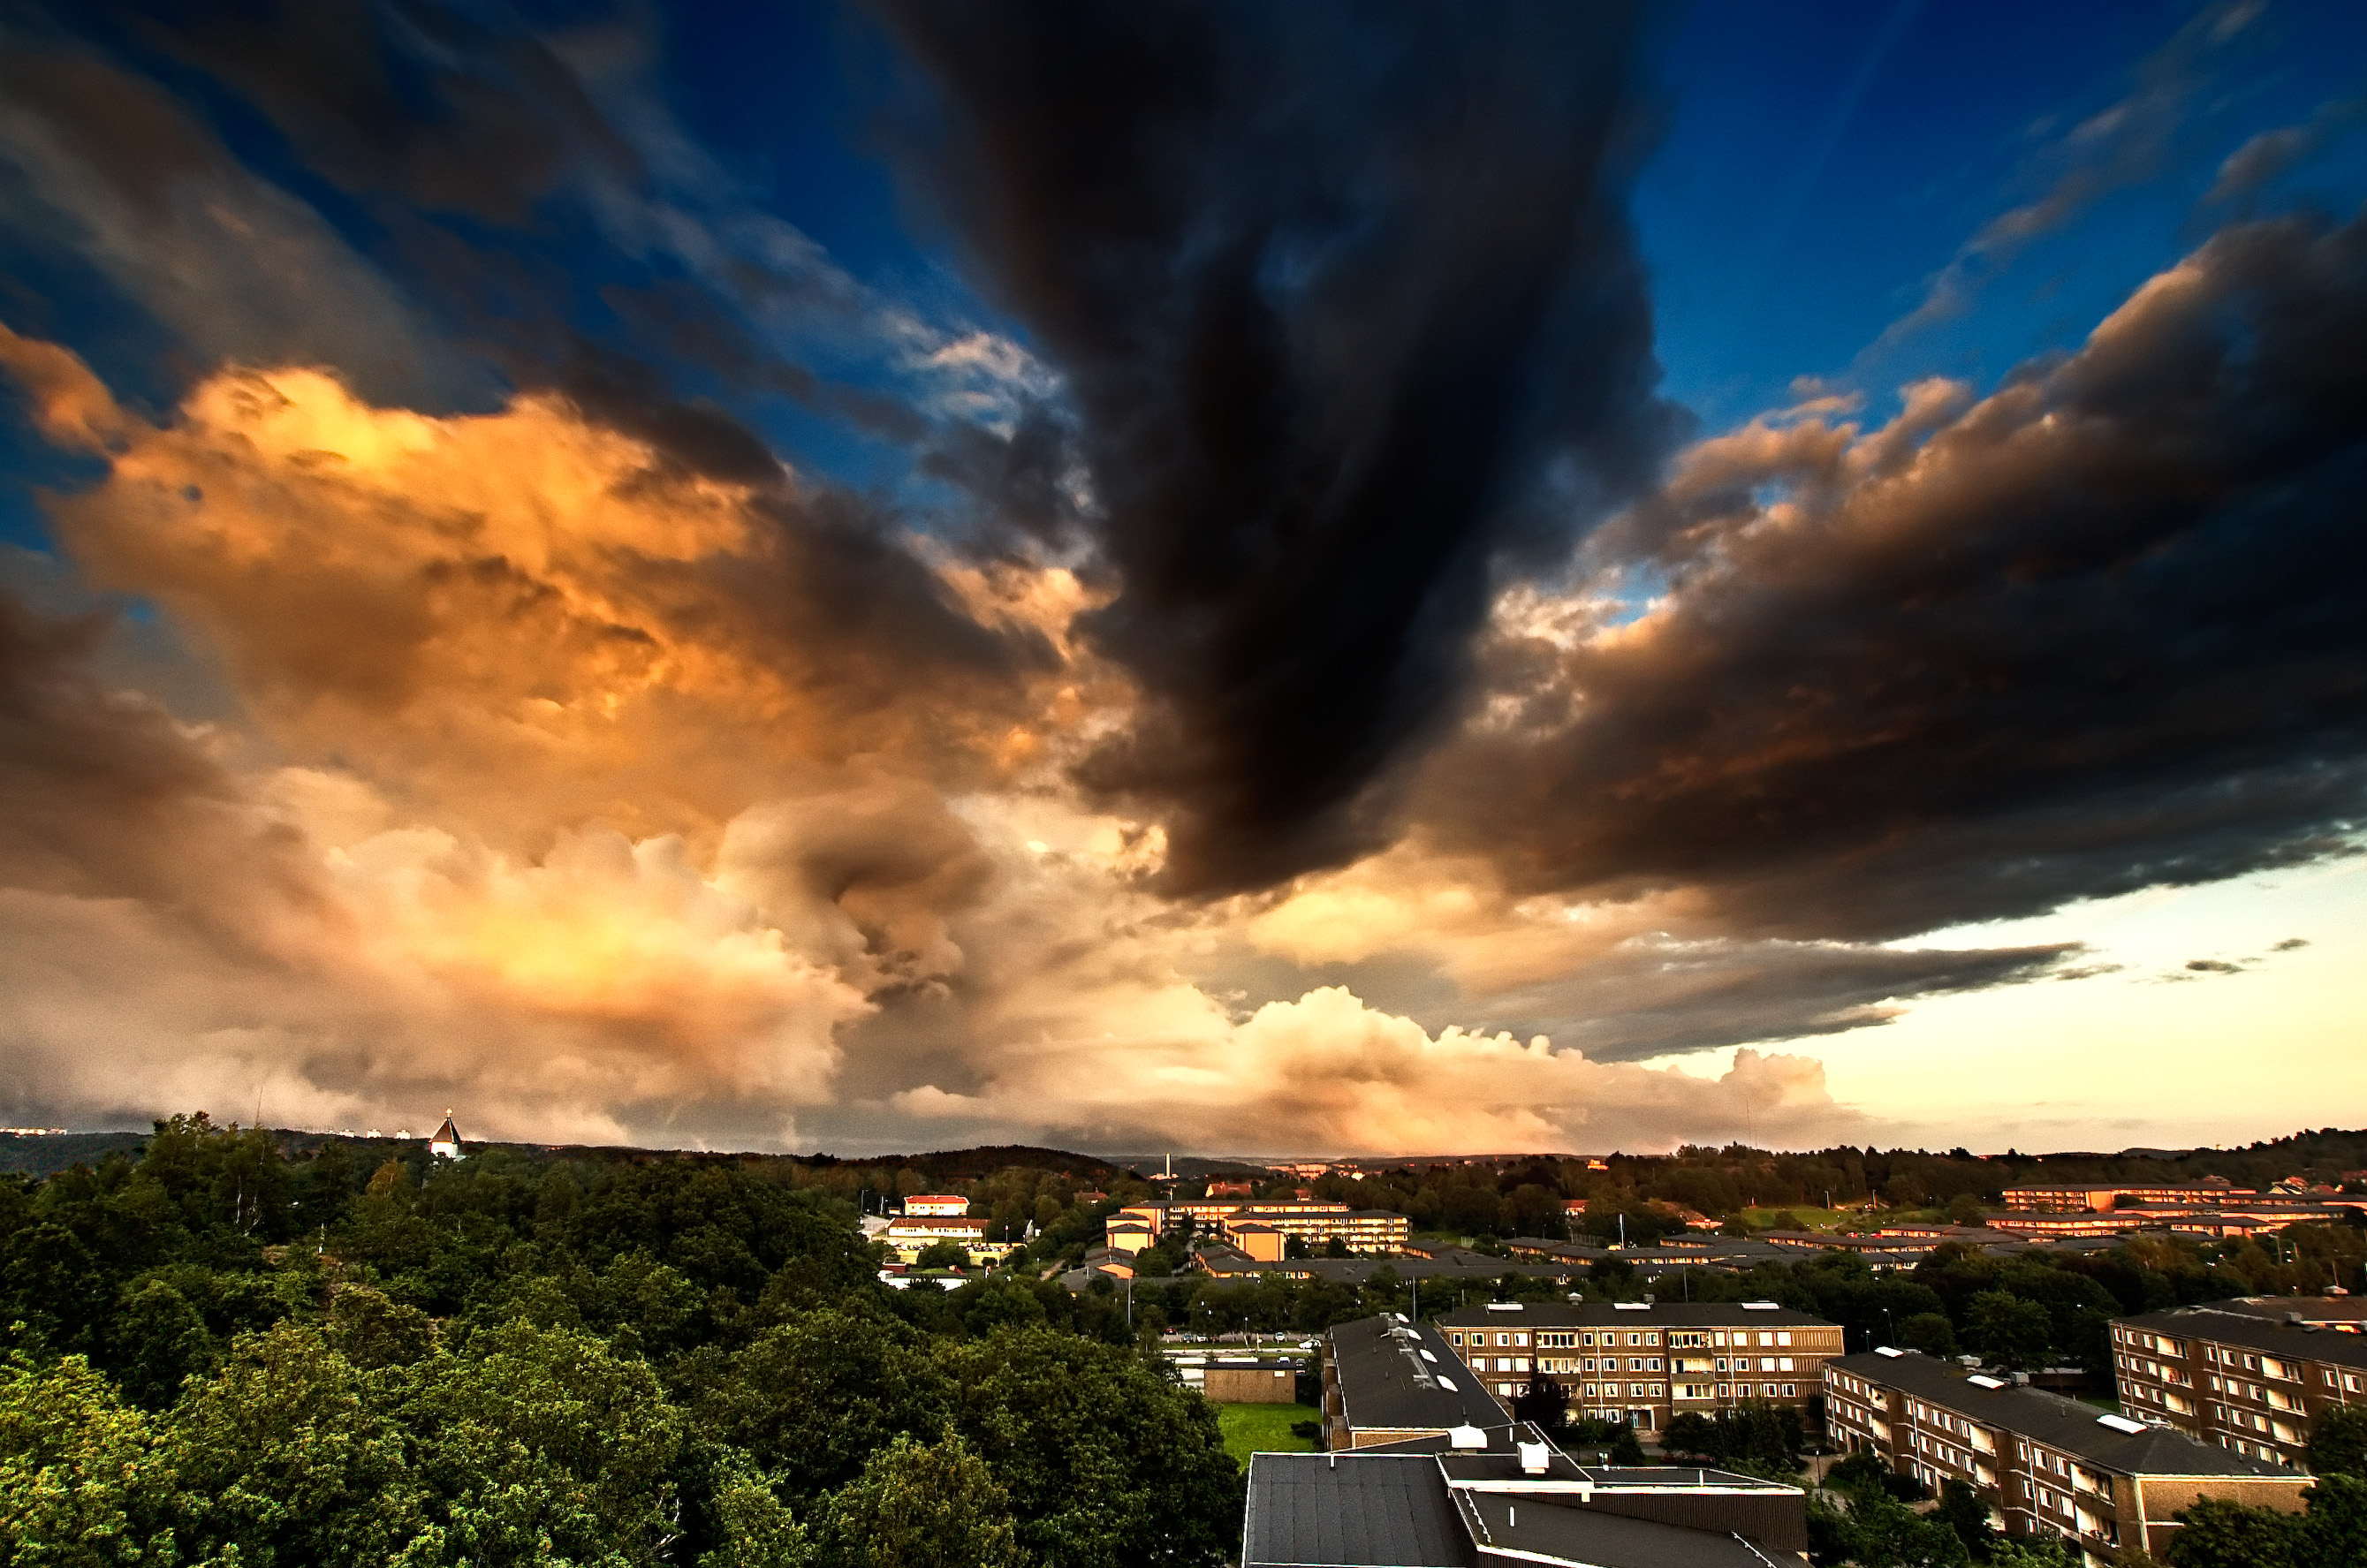
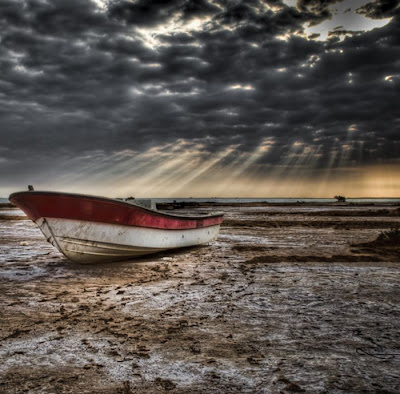
• Try To Keep An Eye Out For Scenes And Subjects That Have A Large, Visible Dissimilarity Between Light And Dark Areas. This Is Typically Easier Said Than Done Since Our Eyes See In HDR Already, But If You Can Spot These Types Of Scenes It Is A Real Boon. These Are The Kinds Of Shots That Promote Most From HDR Post-processing Techniques, Since You Otherwise Wouldn’t Be Able To Capture All The Full Dynamic Range In One Shot.
• If Your Memory Card Is Spacious Enough, Shoot In RAW Format. JPEGs Use Heavy Compression To Cut Down On File Size And Will Typically Result In A Noticeable Loss Of Detail In Your Photos. Shooting In RAW Is Better For Excellence, But Takes A Bit Longer For Your Camera To Process And Write To Your Memory Card. For Best Results, Snag Yourself A Class 6 Or Class 10 SD Card – These Have Faster Minimum Write Speeds And Will Help Reduce The Time Your Camera Takes To Store RAW Images After You Shoot Them.
• Most Of All You Must Remember That These Are Mere Guidelines And Not Set Of Rules To Be Followed. You Are Not Bound By Any Rue So Don’t Let Our Tips Obstruct Your Artistic Impulses. Experiment And Play Around Lot, And You’ll Start To Get A Sense For It On Your Own.
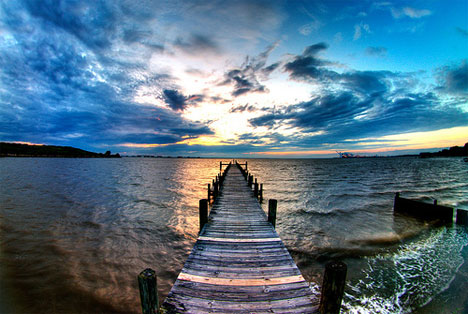
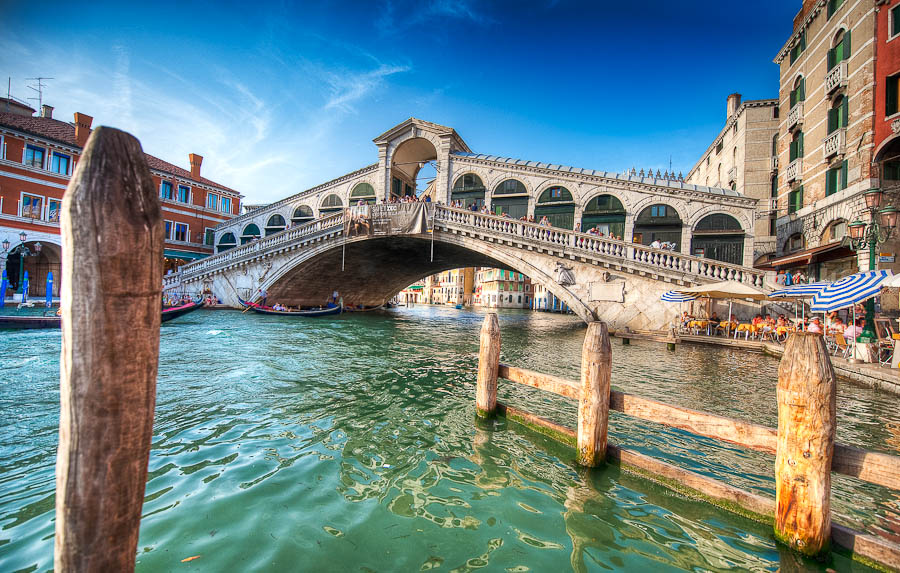
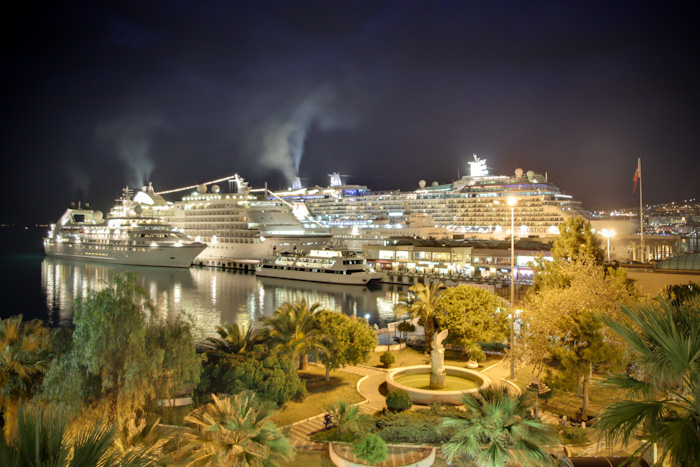
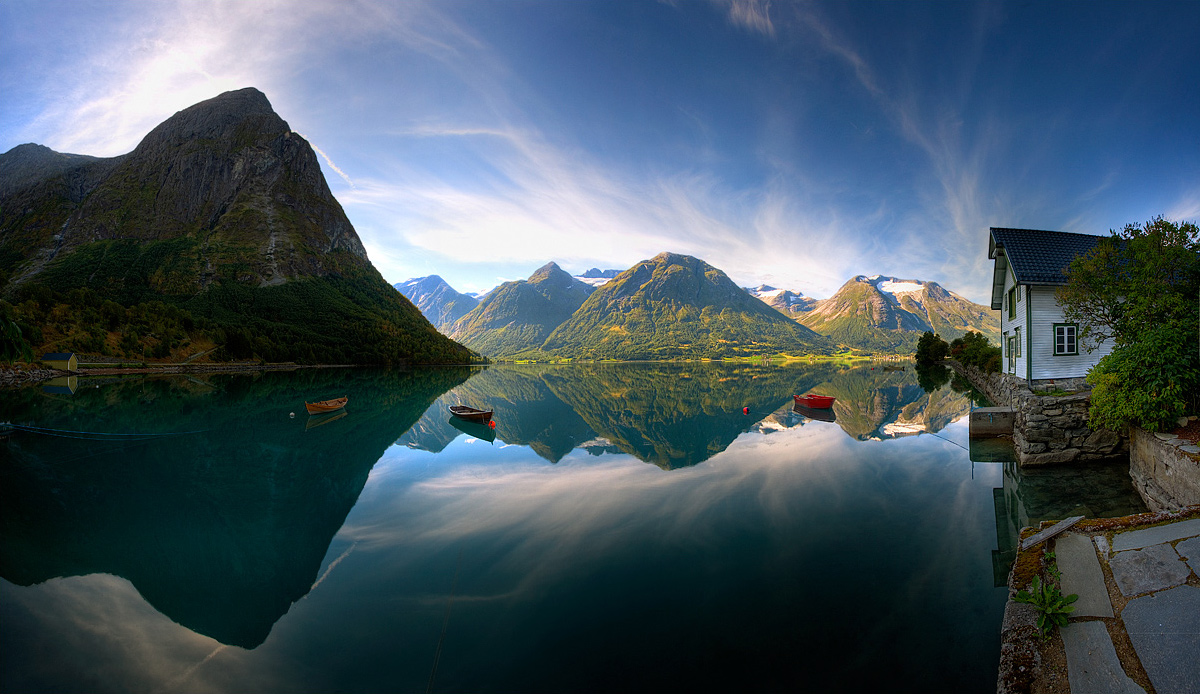
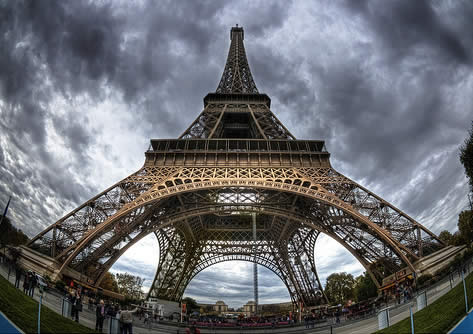
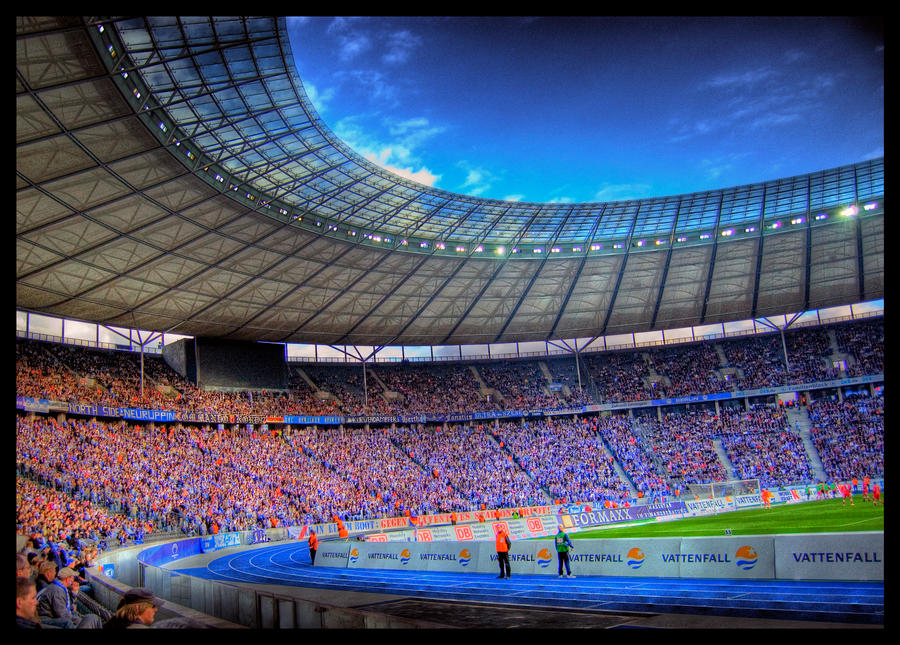
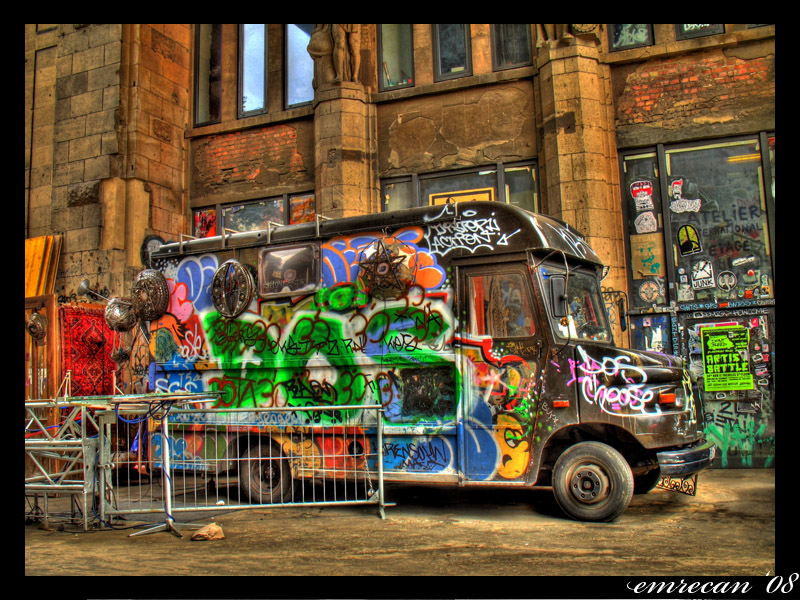
Enjoy These Perfect HDR Photographs For Inspiration: