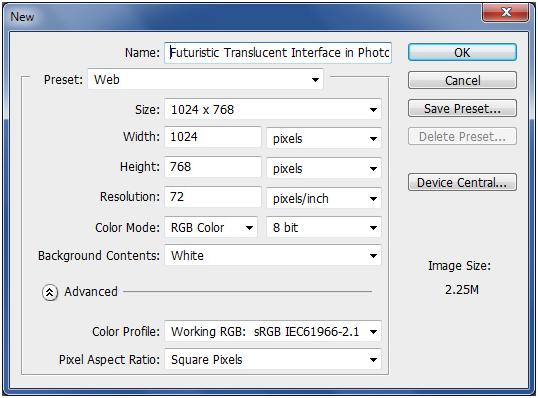
1) To Start,make A New Photoshop Document.Set Its Size To Around 1024 X 768 Pixels And Set #0078ff As Background Color.
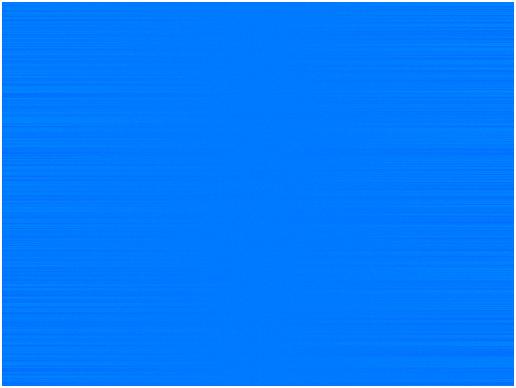
2) Make A New Layer Above The Old One, And Then Go To Filter > Noise > Add Noise.Make It Up To 400 And Then Click OK. After That, Go To Filter > Blur > Motion Blur. Set It To A Strict Horizontal Blur At 0°, And Bump It Up To Maximum As It Will Go. Set The Blend Mode To Overlay. Go Back To Filter > Noise > Add Noise And Set It To 20% And Opacity Of The Layer To 15%.
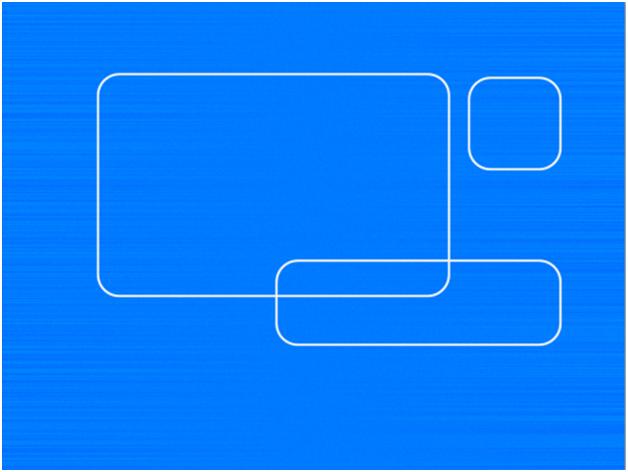
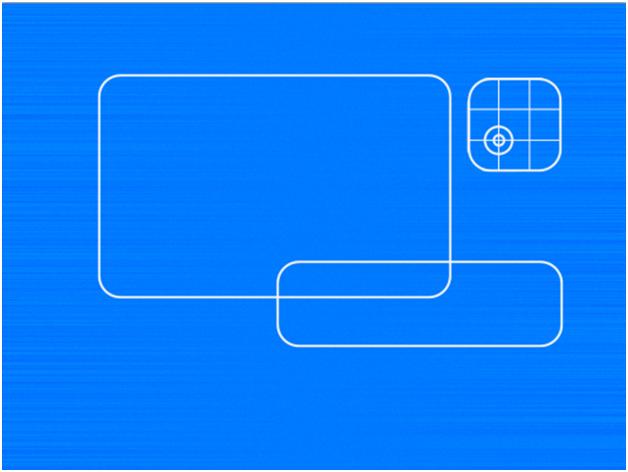
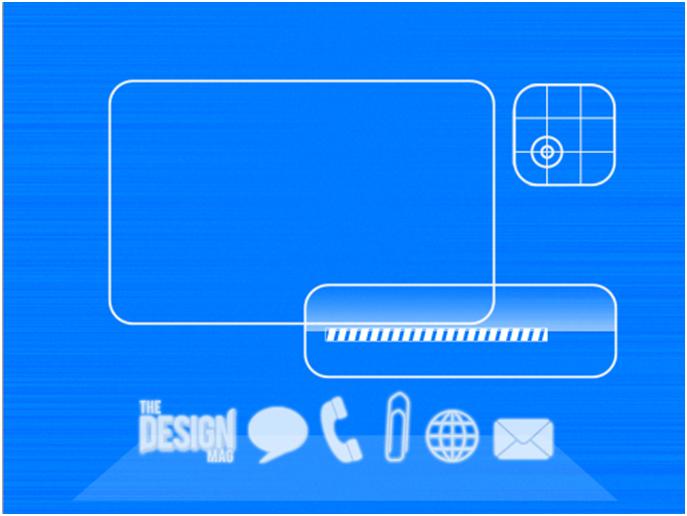
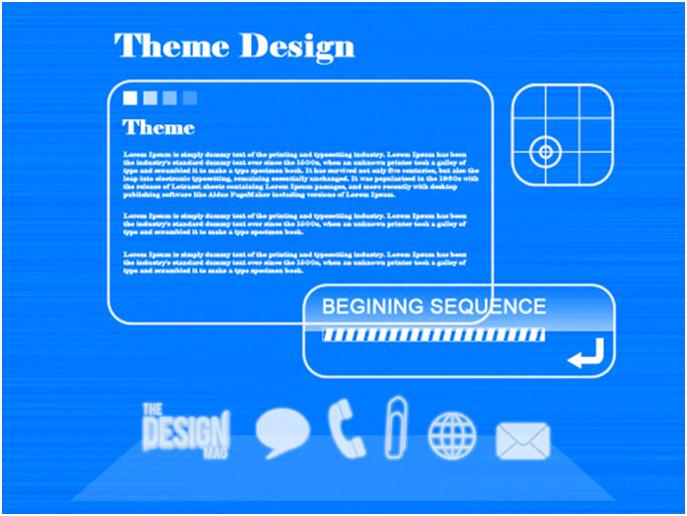
3) To Make A Design Of Basic Layout Interface By Your-self, Take Rounded Rectangle Tool And Sketch A Large Window Which Will Be The Main Window Of Interface. Make Sure That Stroke Is In White Color.
After All This Its Time To Make A Radar Grid. Choose 3 X 3 Grid From Custom Shapes. Clip It To The Layer With Small Rounded Square. Choose Ellipse Tool With Stroke White In Color And Draw A Large And Small Circle Inside Of It To Replicate A Radar Jinx.
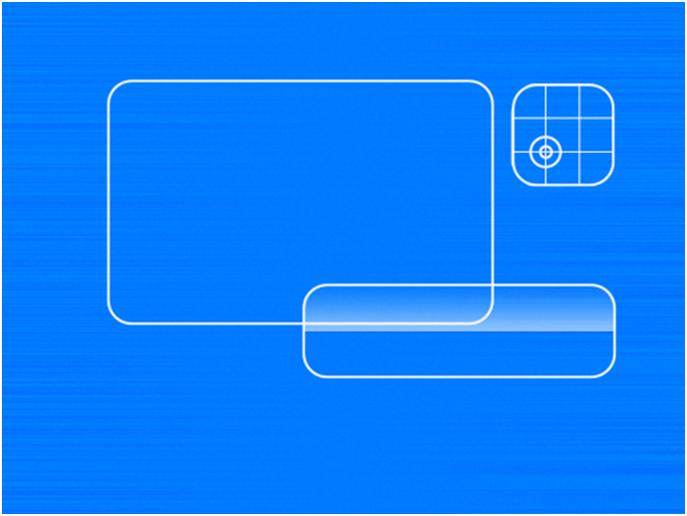
4 ) Make A New Layer, Choose Rectangular Marquee Tool, And Select Half Of It. Fill It With White Color. Then Apply Gradient Over This, Fading Out The Top Of The Rectangle.
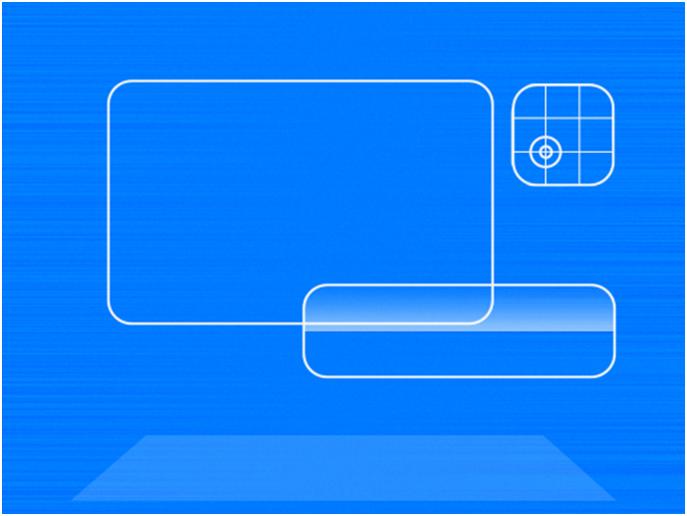
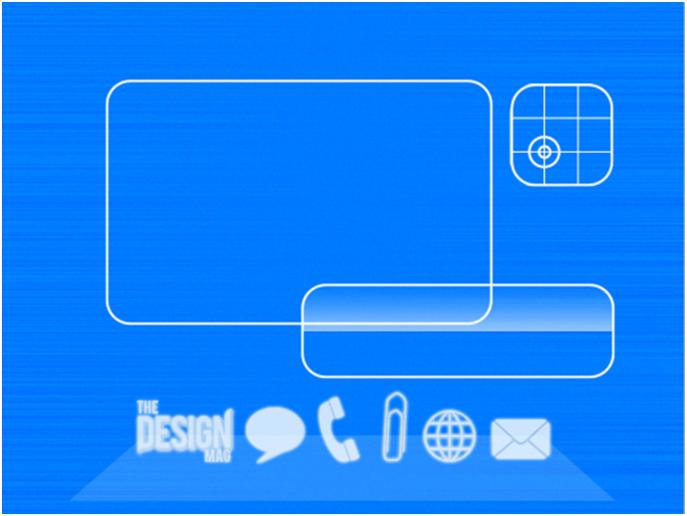
For Making A Menu At Bottom Of The Screen, Make A New Layer And Take Rectangular Marquee Tool. Make A Rectangle Approx. 80% Of Width Of Document. Choose Perspective And Transform That Rectangle As Shown In Figure And Set Its Opacity To 30%.
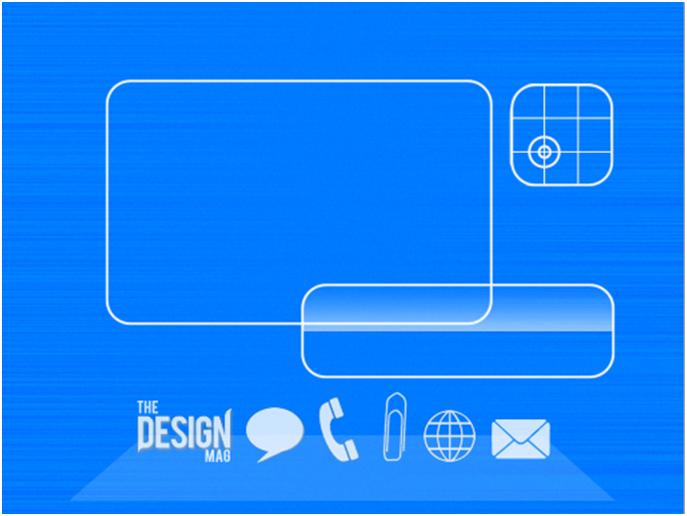
5) Keeping White As Main Color We Have Taken The Design Mag Logo, Chat Bubble, Phone Receiver, Paper Clip, Web Icon And A Email Icon. Now Set Their Opacity To 80%.
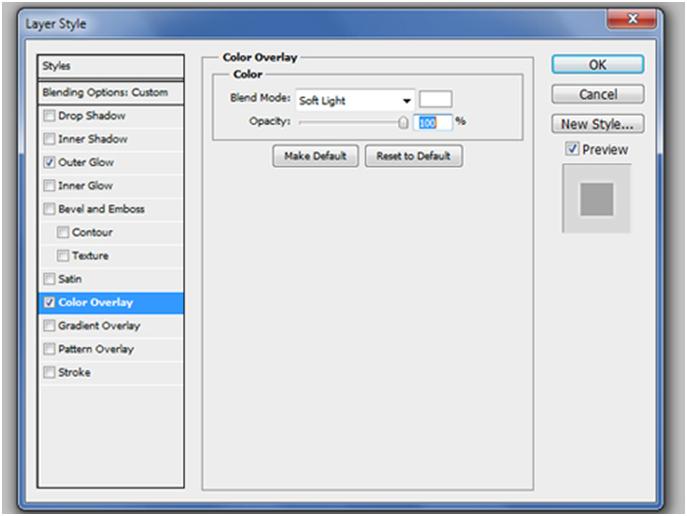
For Adding A Glow To Menu, Open Any Layer’s Layer Style And Choose Color Overlay Change Its Blend Mode To Soft Light And Keep Opacity 100%.
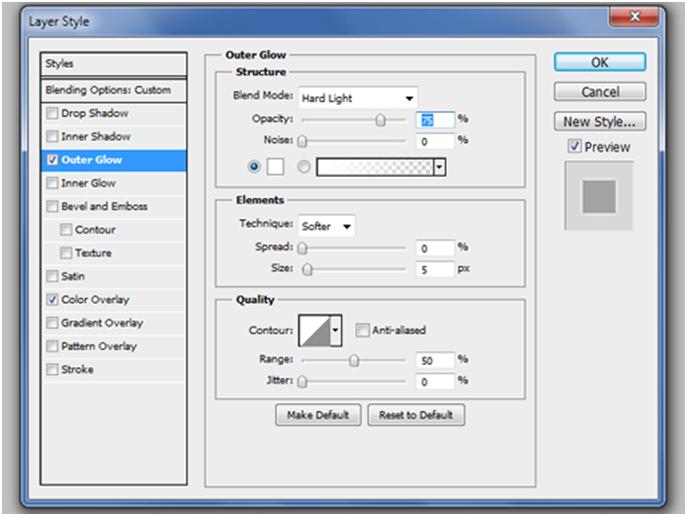
Next, Move To Outer Glow, With White As Color And Hard Light As Blend Mode, Keep Opacity To 75% And Size To 5px.
Now Simply Copy – Paste Layer Style On Other Icons.
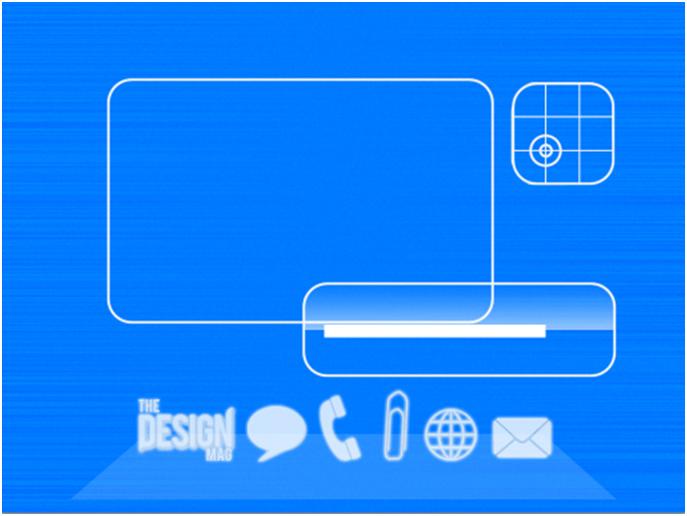
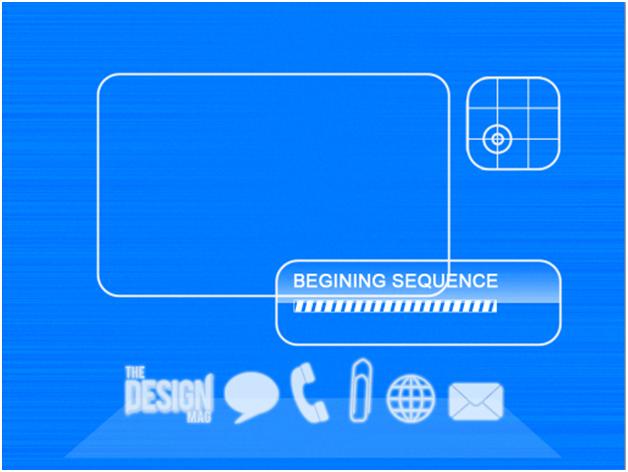
6) Adding A Few More Interface Elements To Make It Look More Pragmatic. Draw A Thin Rectangle Shape With A White Fill In The Medium Rounded Rectangle. Select The Tile 2 Diagonal Lines Shape And Make A New Layer Mask. Hold Shift And Draw A Black Mask Over The Area Where You Just Drew The Rectangle. Create A New Layer Below And Use The Path Selection Tool To Make The Selection Of The Rectangle Active. Select A 2px Hard Brush And In The Paths Panel, Choose Stroke Path With Brush.
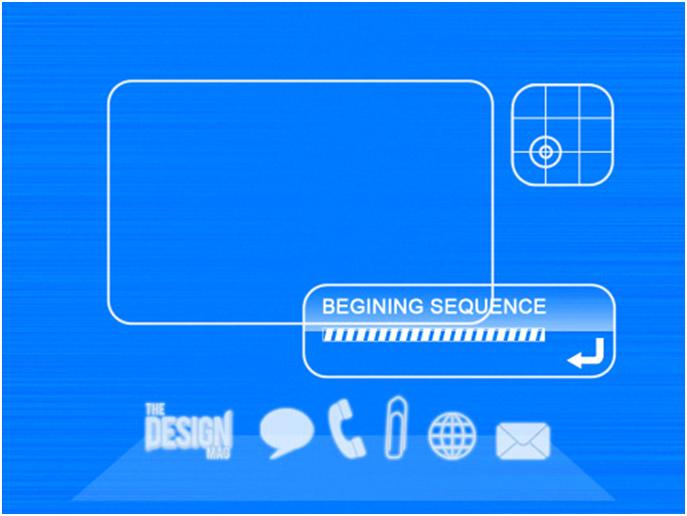
7) Take Type Tool, Choose Any Good Looking Font, And Type Your Message. Select Arrow 20 From The Custom Shape Tools And Draw A Small Arrow In The Bottom-right Corner. Hit Command + T To Transform It, And While Holding Shift, Rotate It Until The Arrow Points To The Left, Much Like A Back Button.
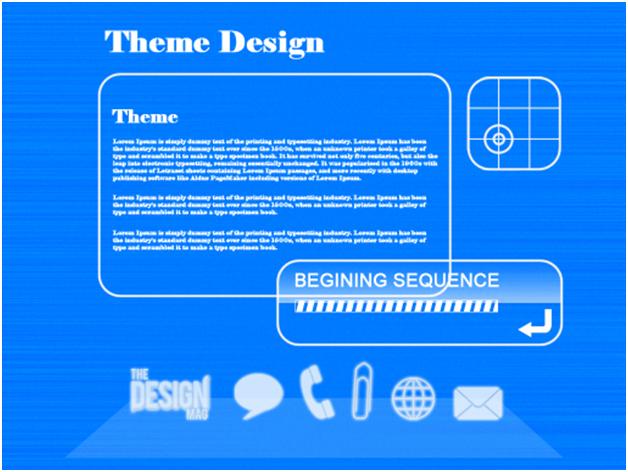
Choose The Text Tool And Choose Any Font At 48pt Size. Type The Main Header Of Your Page And Align It To The Left Edge Of The Main Window. Select Helvetica Regular And Type The Headline For Your Main Window’s Text In 30pt Size. Then, Lower The Size To Around 8-10pt And Create Your Body Text.
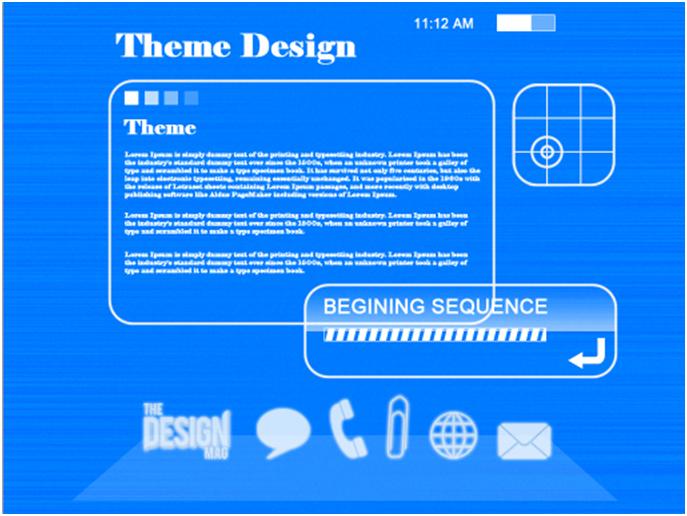
8) Now, Make A New Layer And Select The Rectangular Marquee Tool. Draw A 30px Square And Fill It With White. Hit Ctrl + J To Duplicate The Layer. While Holding Shift, Hit The Right Arrow Key Twice To Bump It Over. Repeat This Process Twice More, So That You Have Four Squares. You Can Select The Last Three Square Layers And Hit The “6” Key To Lower The Opacity For All Three Layers To 60%.
Select The Type Tool And Choose 20pt Font Size. Type In The Time, As You Would Find On Most Interfaces. Then, Select The Rectangle Tool And Draw A Rectangle With No Fill, But With A White Stroke. Select The Rectangular Marquee Tool And Draw A Rectangle Over The Top Two Thirds Of The Rectangle That You Just Made. Fill It With White, Set Opacity To 40%. Then, Create A New Layer And Draw Another Rectangle, But Make It Over The Left Two Thirds Of The Rectangle. Fill It With White, With 100% Opacity.
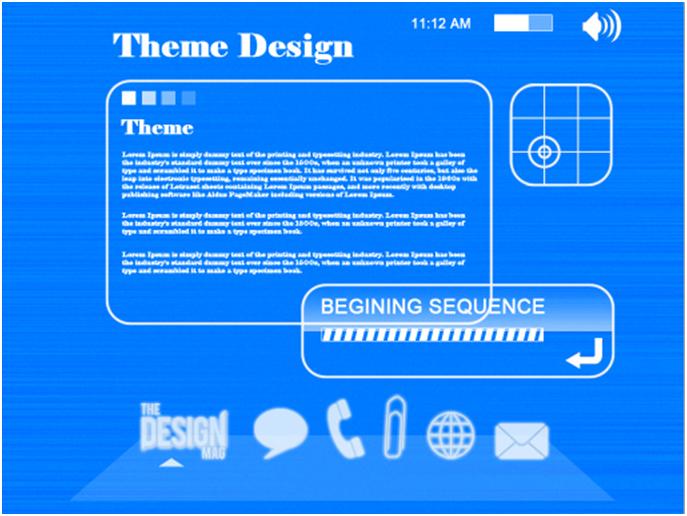
Select The Volume Shape From The Custom Shape Tools And Draw A Volume Control Icon In The Top Right Of The Screen. We Also Need To Know Which Application At The Bottom Is Active. Create A New Layer And Select The Pen Tool. Draw A Triangle And Then Fill It With Any Color, Copy The Layer Style From One Of The Icon Layers And Paste It To The Triangle Layer. Place It Under The Active App.
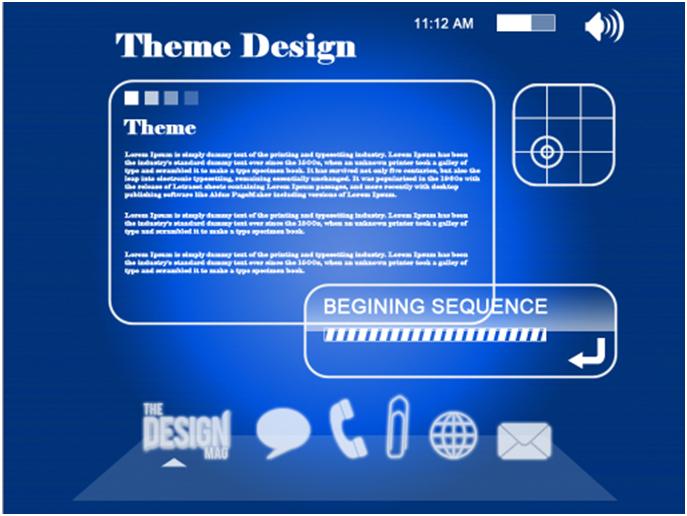
9) The Light Blue Color Is All Right, It Would Be Nicer To Add Some Profundity To Our Interface. Create A New Layer Above Your Original Noise Layer, And Select A Dark Blue (#011b9e) For Your Background Color. Make White Your Foreground Color And Select A Radial Gradient. Draw A Layer Circular Gradient With White In The Center And Dark Blue On The Outside. Change The Blend Mode To Luminosity.
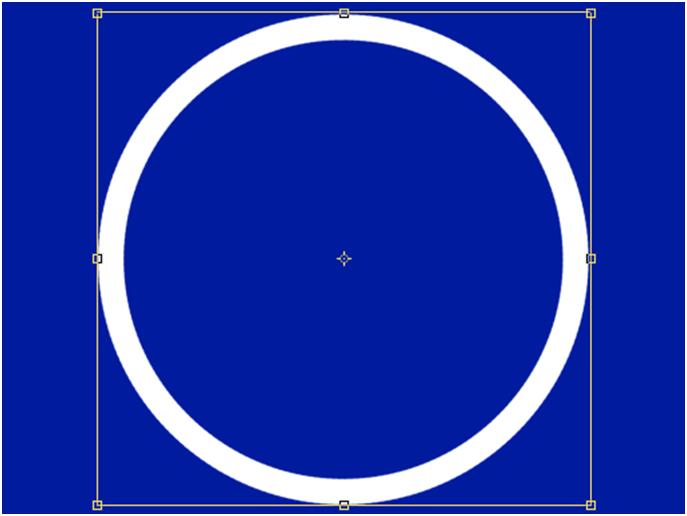
10) For Ultramodern Feel To The Design, Our Next Effect Will Be Easier To Create In A New Document. Create A New Document At 1024 X 768 Pixels And Fill It With A Dark Color, For Example Blue Or Black. Select The Circle Frame Shape From The Custom Shape Menu And Draw A Large Circle In The Center Of The Canvas. Use The Direct Selection Tool, Hold Shift, And Click On The Four Anchor Points On The Inside Circle. Hit Ctrl + T To Transform The Inner Circle Path And Hold Shift While Dragging The Corner Handle Outward, To Make The Circle Shape Thinner.
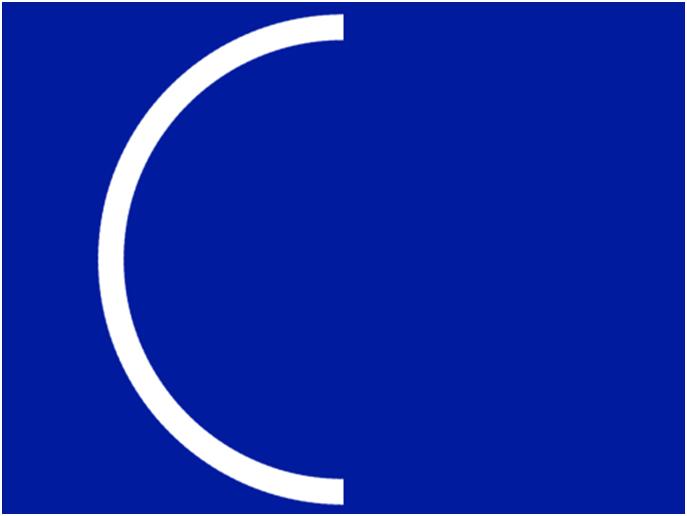
Now, Click The Layer Mask Icon For Creating A New Layer Mask. Use The Rectangular Marquee Tool To Draw A Selection Over Half Of The Circle And Fill It With Black To Hide Half The Circle. Right-click On The Layer And Choose Rasterize Layer. Right-click On The Layer Mask Icon, And Hit Apply Layer Mask.
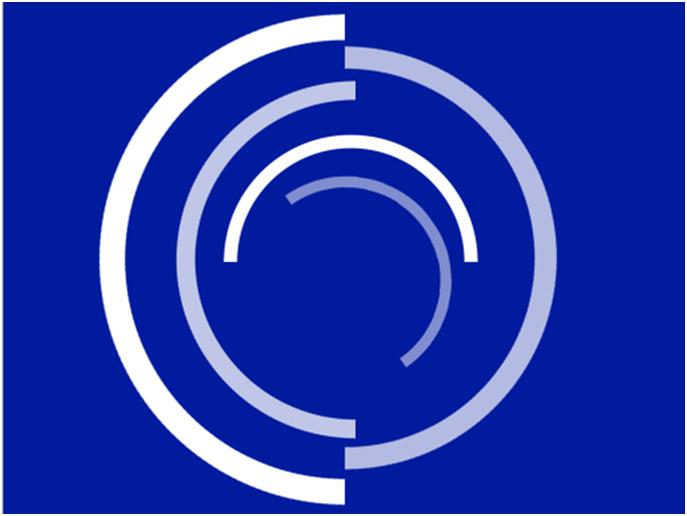
Hit Ctrl + J Or Right Click On Layer And Choose Duplicate Layer Option To Duplicate The Layer. Press Ctrl + T To Transform Layer. Now Arrange All Circles As Shown In Image And Simply Get Their Look By Changing Their Opacity.
Select All Semi-circle Layers And Keep Them In A Group. Place This Group Just Above The Gradient Layer And Change Its Opacity To 20%.
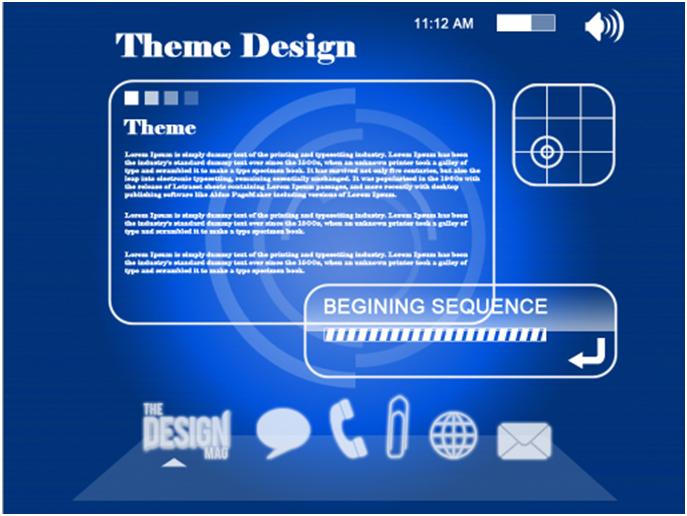
Here Is What All You Wanted,
clean, Innovative And Ultramodern
Futuristic Translucent Interface

